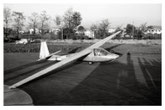
For a chronologic overview, start at the bottom of this page!!
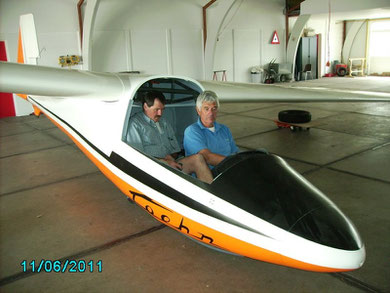
Date: 12-06-2011
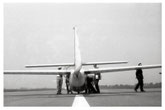
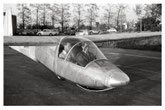
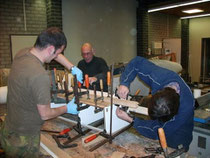
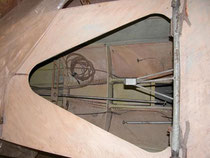
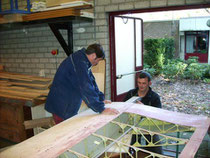
- Martijn and Wim in the cockpit, enough room here!
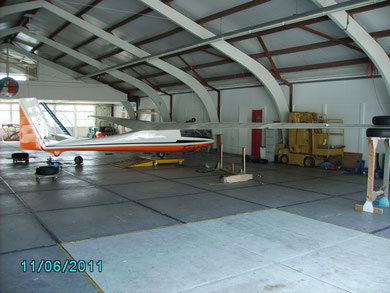
Date: 12-06-2011
- Weighing of the Carmam M200!
We achieved a weight reduction of 15 Kg!
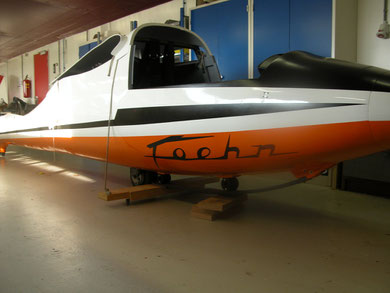
Date: 27-05-2011
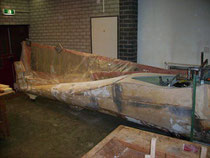
- Foehn logo on the fuselage.
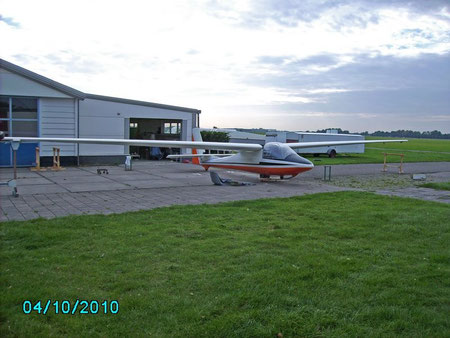
Date: 04-10-10
-Rigging and flight control checks!
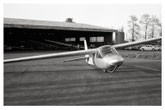
It starts to look like a glider again!
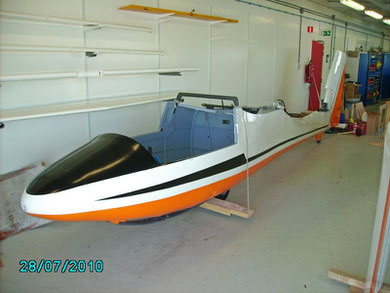
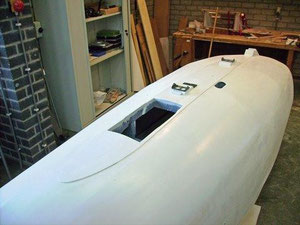
Date: 28-07-2010
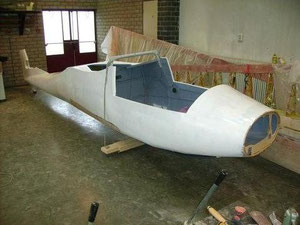
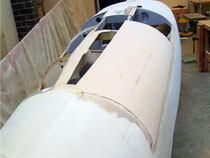
- The fuselage is nearing completion!
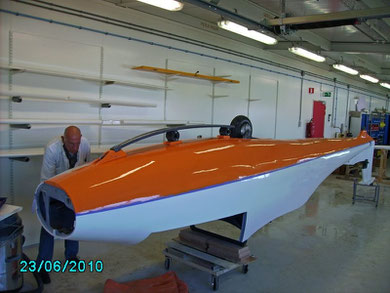
Date: 23-06-2010
- Orange belly and a white fuselage (Ral 9010)
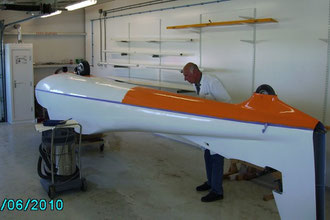
Date: 23-06-2010
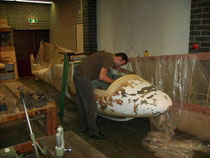
- The fuselage undergoing an paintjob by Peter Deege in the workshop at Hilversum gliding club.
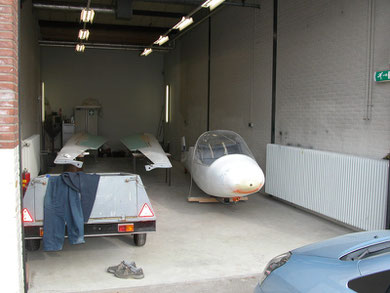
Date: 18-03-2010
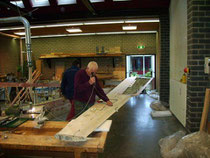
- Current workshop on Soesterberg (former airbase)
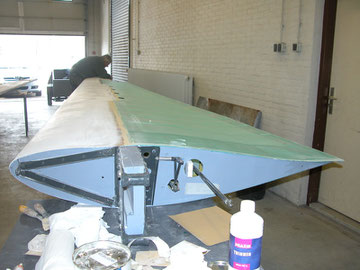
Date: 18-03-2010
- Wings are doped and prepared for painting.
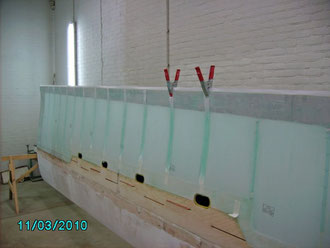
Date: 11-03-2010
-Ceconite applied, sewed, ironed and doped.
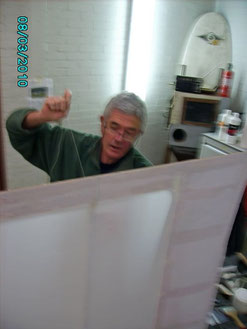
date:08-03-2010
- Sewing the Ceconite to the ribs turned out to be a time consuming buiseness.
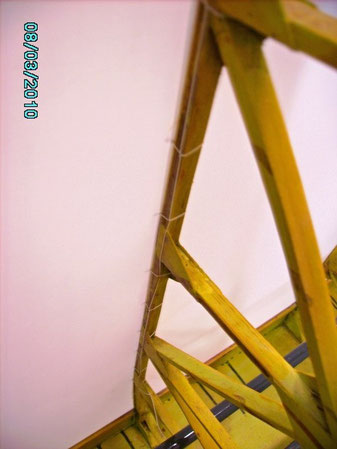
Date:08-03-2010
- Ceconite attached to the ribs.
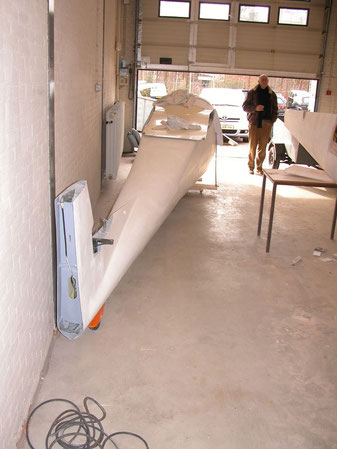
Date: 03-03-2010
- The glider was moved to a new temporary workshop.
We hope to finish the covering here.
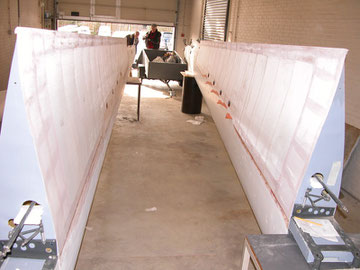
Date: 03-03-2010
- Wings are covered with Ceconite.
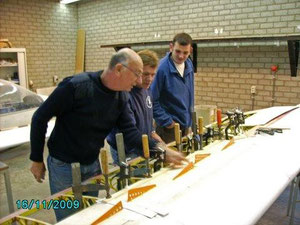
Date: 16-11-2009
- Clamps in place, but where are they looking at?

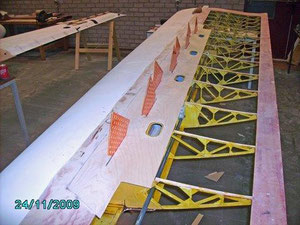
Date 24-11-2009
- wings ready for transport to an other location.
Sadly our current location will be used for other purposes.
We are glad that we had the oppertunity to start our project here.
Date: 24-11-2009
- Both speedbrake cover plates finally in place.
Both wings are ready for covering!
Date: 22-10-2009
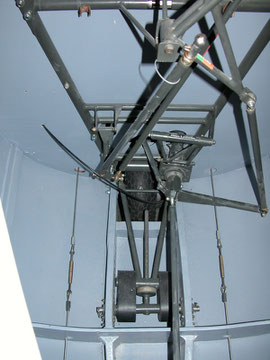
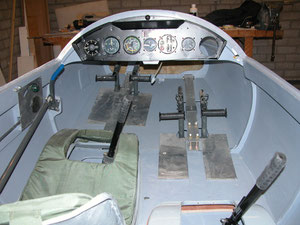
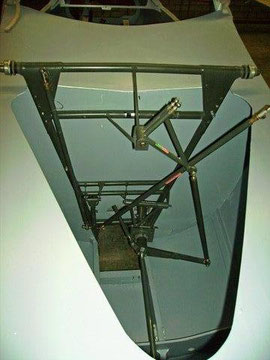
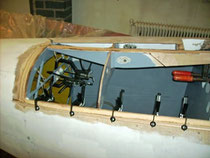
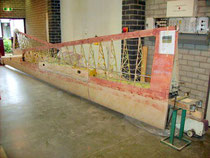
- Here you see the A-frame with the flight control assembly and the main wheel suspension system. The rudder control cables have recently been replaced.
Date: 22-10-2009
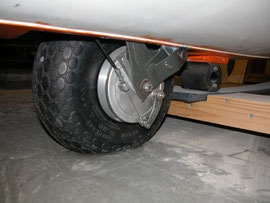
- Main wheel fitted.
This particular main wheel has a bungee suspension that was originally fitted during construction in 1969.
Date: 22-10-2009
- Instrument panel fitted in the cockpit.

Date: 22-10-2009
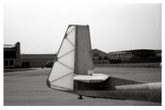
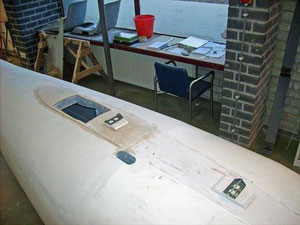
- Stabilo attachement fitted on the fuselage.
All works fine, and looks like new.
Date: 15-10-2009
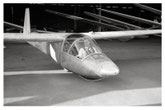
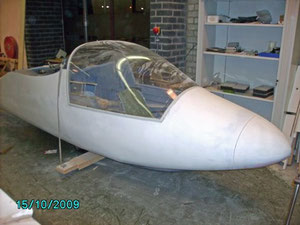
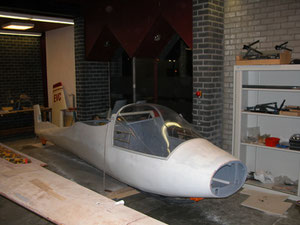
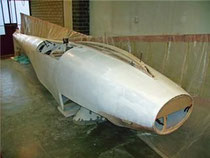
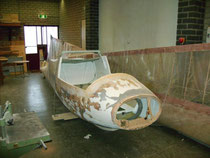
- Nose fits perfectly, pitot still needs to be installed.
Date: 02-10-2009
- Newly fabricated nose fits near perfect.
Some filler and sanding was needed to get it flush with the fuselage.
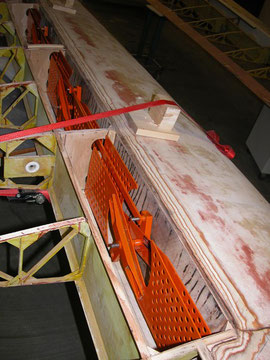
Date: 03-09-2009
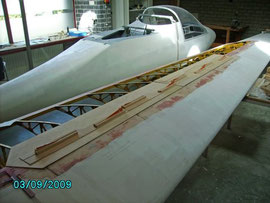
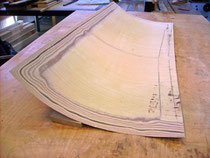
- Top cover plates of the lh wing speed-brakes ready to be glued to the wing.
A lot of work was done on the complex brake system before we could continue.
Thankfully we used a specially designed (Jan Vermeer) sanding machine to prepair the mating faces of the plywood panels.
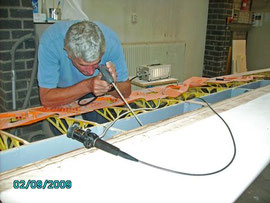
Date: 02-08-2009
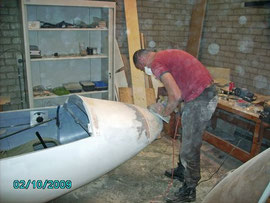
- Boroscopic inspection of the rh wing main spar.
Water coused damage on the upper and lower cover panels of the speed brakes.
No damage was found on the inside!
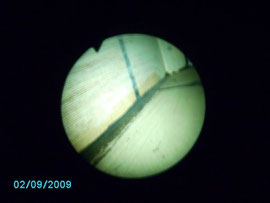
Date: 02-09-2009
- Inside view of the main spar of the rh wing.
All looks sound, no traces of water here thankfully!
Date: 24-01-09
- A-frame installed on the aft side of the bulkhead.

Date: 24-01-09
- Steering components instaled.
Date: 13-01-09
- Airbrakes temporary installed to check the adjustment and the dimensions.
It was quite a lot of work to get the complete assy sorted out.
It appeared that it had been mixed up previously.
Check "refurbished parts" section for more detailed pictures of the brake assembly.
Date: 13-01-09
- Fuselage with canopy installed.
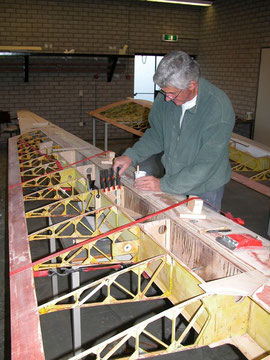
Date: 09-01-09
- Work on the wings is progressing rapidly, and the airbrakes are almost ready to be re-installed in there designated places.
Date: 01-01-09
- Fuselage structural repairs carried out and a layer of primer applied.
Date: 01-01-09
- A thin layer of "Onol"primer applied.
Date: 01-01-09
- Cover plate arround the wheel bay glued in place, and ready for finishing
Date: 01-11-08
- Fuselage is on its "feet"again.
Date: 01-11-08
- The repairs of the fuselage bottom side seen from the inside.
Date: 01-11-08
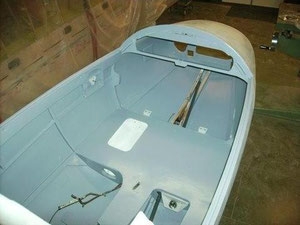
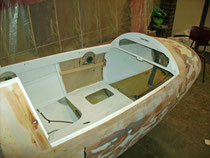
- cockpit is painted and almost ready for the installation of the metal parts.
Date: 17-10-08
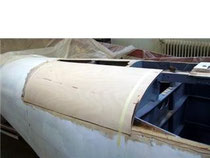
- finally closed!
Date: 06-10-08
-only one panel left to install.

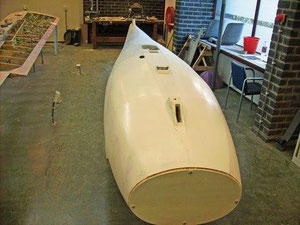
Date: 08-09-08
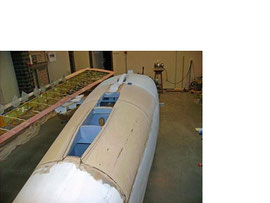
- The fuselage almost nearing completion.
Both aft left and right hand longitudional pre-formed skin panels has been put in place.
Date: 01-07-08
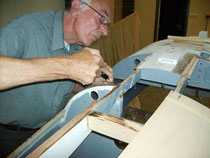
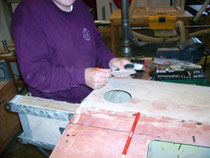
- Here you see Peter removing glue residue from the opposite side of the fuselage. The right hand skin panel also needs replacement. The two forward panels are prepared and will be placed when the two longitudinal skin panels are installed.
Date: 25-06-08
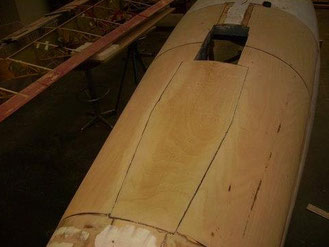
- Nice view on the newly installed pre-formed panel.
Projects like these, are inpossible without the help of skilled specialists with the knowledge and expirience. Many thanks go to Peter, Martijn and Jan.
Date: 25-06-08
- The pre-formed panel is glued in place.
It was a lot of work getting the two 2mm multiplex panels glued together in the right curve.
As you can see, the work also has to be carried out on the opposite side.
Date: 05-03-08
- The delaminated skin panel was removed on one side.
It appears to be a birch multiplex sandwich panel with a softer inner layer.
This panel was problably used to prevent dents and construction reinforcements to be visual on the outside of the fuselage.
Date: 03-03-08
- The reinforcements are glued to the fuselage to provide extra strenght to the contact surface.
Date: 03-03-08
- The result was perfect, the two panels were glued perfectly. The preformed panel was cut in the right dimensions an prepared for installation.
Date: 29-02-08
- The new preformed panel is getting its shape. Two 2mm panels are glued together with Aerodux glue in a mold. The mold was copied from the fuselage to get the right curve.

Date: 05-03-08
- A closer view
Date: 03-01-08
- The nose fairing had to be removed to gain acces to the front rudder pedal attachment and the winchhook control cable modification.
Date: 03-01-08
-The A-frame has been removed from the rear side of the front bulkhead. No damage found here!!
Date: 03-01-08
-Rear bulkhead top painted and the wings attachment treated with primer.
Date: 03-01-08
-All metal parts removed, and some woodwork painted with Rubol paint.
Some wood panels still have to be replaced due to delamination coused by moist.
Date: 03-01-08
-Nose fairing removed to gain acces to the rudder pedal attachment.
Date: 22-12-07
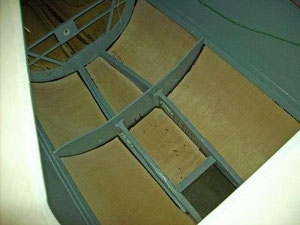
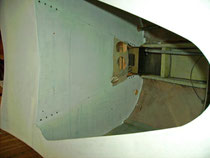
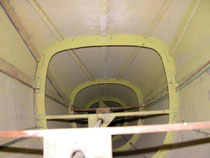
- A view to the rear where the construction can be seen.
No delamination or other discrepancies found here!
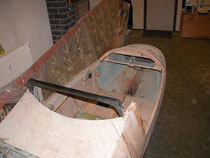
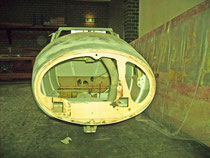
Date: 22-10-07
-Cockpit section seen from above. as you can see, all the metal parts have been removed. with exeption the parts that have been attached directly to the wooden construction of the glider.
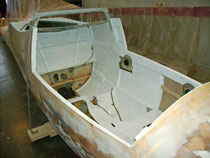
Date: 22-10-07
-Here you see the intermediate section of the fuselage and the top part of the A-frame construction. The lower section was cleaned after the main-wheel was removed.
Date: 15-10-2007
- Stripped wings and fuselage in the workshop.
Date: 15-10-2007
Left and right wing with covering removed and completely paintstripped.
Some repairs still have to be carried out, but no major discrepancies where found.

Date: 15-10-2007
BGA qualified glider inspector, cutting a opening in the wing root.
Date: 15-10-2007
IBGA qualified glider inspector, created an opening to get a clear view inside.
It even smells good, was his comment.
The temporary hatch will be closed later.
Date: 15-10-2007
BGA qualified glider inspector. Checking the inside of the wing with special boroscopic camera, so that the wing has not to be opened.
Date: 15-10-2007
Checking the construction of the wing attachement assembly. A few bolts were removed for corrosion checks. No excessive corrosion or pitting was found.
Our first inpression was that the wing attachement assembly was exposed to moisture too long. after removing all paint, it looked much better, and was in a sound condition.
Date: 15-10-2007
Removing all metal parts from the paint stripped fuselage. Sadly enough, the winch-hook seems to come loose at some point from the fuselage.
The fuselage needs much attention compared with the wings.
Detailed information will be posted in the future.